When designing or specifying a 19-inch subrack system, PCB depth is one of the first dimensions you need to lock down. Choose a board that’s too deep, and it simply won’t fit between the front panel and the backplane. Choose one that’s too shallow, and you risk misalignment with connectors.
In this guide, we’ll break down the standard PCB depth options, explain how they relate to subrack frame depth, and give you a simple formula to ensure perfect fit every time.
What Is PCB Depth in a Subrack?
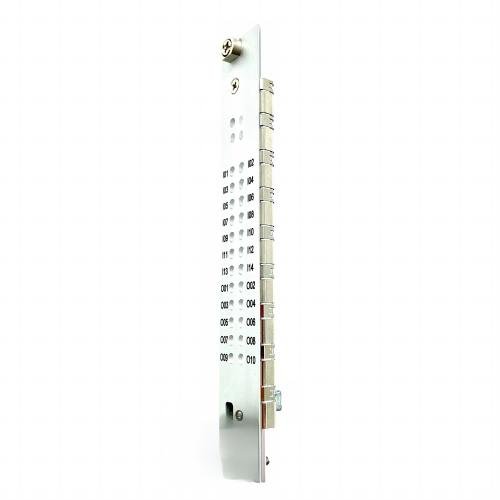
In the context of a subrack, PCB depth refers to the dimension measured from the front edge of the PCB (aligned with the front panel) to its rear edge, which plugs into the backplane connector.
This dimension is NOT the same as the subrack’s overall frame depth. The frame depth is always slightly larger, to accommodate the backplane thickness, connector pins, and rear cabling space.
Key Industry Standard: The 19-inch subrack ecosystem is governed by the IEC 60297-3 series standards, which define all critical interface dimensions. For PCB depth specifically, IEC 60297-3-104 covers the connector-dependent interface dimensions that determine exactly how much clearance you need.
Standard PCB Depth Options for Subracks
Based on industry practice and manufacturer offerings, here are the three most common standard PCB depths:
Some systems also support depths up to 400 mm for custom or complex installations
The Critical Relationship: PCB Depth vs. Subrack Frame Depth
This is where many engineers get confused. The subrack frame depth is always larger than the PCB depth. Here’s why:
- The backplane sits at the rear of the subrack and has a certain thickness (typically up to 6mm max).
- The connectors on the backplane have pins that protrude forward, requiring clearance space.
- You also need room for rear I/O modules if your design uses rear plug-in units.
The Industry Formula
Based on technical documentation from connector standards (IEC 60603-2 / 61076-4-113), the required subrack front depth (D) from the front panel plane to the backplane attachment plane is calculated as:
D = PCB Depth + 15.6 mm
For example, a 160mm PCB requires a subrack front depth of 175.6mm. This is why manufacturers often offer standard frame depths like 175mm or 185mm for 160mm PCBs
Rear Depth Considerations
If you use rear plug-in units for I/O connections, there’s an additional clearance requirement. For the rear depth (Dₛ) from the rear attachment plane to the backplane:
- For IEC 60603-2 / 61076-4-113 connectors: Dₛ = PCB Depth + 22.48 mm
- For IEC 61076-4-101 connectors: Dₛ = PCB Depth + 20 mm
How to Choose the Right PCB Depth: A 3-Step Checklist
Step 1: Check your application space
- Standard 19″ cabinet with standard depth? 160mm is usually the safe, cost-effective choice.
- Need more board area for complex circuits? Consider 220mm.
- Building a ruggedized system for railway or defense? 280mm may be required to accommodate heavy components.
Step 2: Verify your backplane and connectors
- If you’re using a specific backplane, check its connector type. The clearance formula changes depending on whether you use IEC 60603-2, 61076-4-101, or 61076-4-113 connectors.
- Ensure your selected PCB depth leaves enough space for the connector pins and any rear I/O modules.
Step 3: Match the subrack frame depth
- When ordering a subrack, specify both the PCB depth and the required frame depth.
- Standard frame depths offered by many manufacturers include 175mm, 235mm, and 295mm